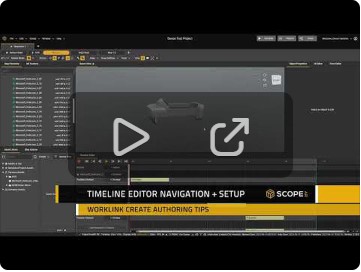
Create Authoring: Timeline Editor Navigation and Setup

The timeline editor is one of the most frequently used tools when authoring a project. Knowing how to navigate the editor and use it to it’s fullest extent is handy for animating quickly and efficiently. Below are some quick tips, shortcuts, and buttons to get the most out of the Timeline Editor Window.
Scrolling - Using the scroll wheel can be used to scroll through the objects that are currently being animated.
Loop Point Placement - Right Clicking and dragging at the top of the timeline or in any dark grey will set the loop point (blue line).
Zooming - Zooming in on your timeline can be achieved by holding the Ctrl key on the keyboard and scrolling with the mouse wheel. You can then use the horizontal bar at the bottom to move throughout your timeline.
Scrubbing the timeline - Scrubbing the timeline is the action of dragging the active frame (red line) to playback your animation frames as you move that line left and right.
Increase/Decrease Timeline Frames - Users can increase or decrease the active timeline frames seen by clicking the + and - buttons at the bottom right of the timeline editor window.
Alternatively, you can hold the SHIFT key on your keyboard and scroll your mouse wheel.
This will change the timeline frame amount by 1 second with click.
Default Timeline and Timebar Length - The default timeline length can be set by navigating to:
Edit > Preferences > Timeline > Timeline Editor
Please sign in to leave a comment.
Comments
0 comments