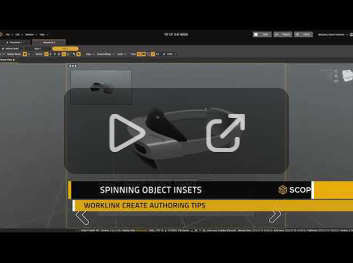
Create Authoring: Spinning Object Inset

When authoring instructions, it's often helpful to show the user a detailed solo visual. Whether this is a simple bolt or a proprietary tool, it's always helpful to give a 360° turnaround in an inset so the user knows what they're looking for.
To begin, duplicate your object that you'd like to show your user and place it well below your scene (this should be below the ground plane). Next, animate your object turning 360° on the axis you'd like to show. This animation should be slow enough for the user to view important details as it spins. Make sure the animation is linear and set the loop point to the last frame of animation.
Note: If your object is spinning off-center, you can reposition the pivot point towards the center of the model.
Now, create a camera and position the camera at the newly created spinning object. This will be the camera used for your inset.
Finally, create a cube object and drag it to your spinning object and camera. scale this cube so it covers both the object and camera. Check that this cube is not touching any other parts of your model in your scene. Be sure to scrub your spinning animation while checking that no parts are viewable outside of this box as it spins.
With the Cube selected, navigate to the object properties and create a new material. Call this material "Depth Mask" and change the Material Preset to Depth Mask. You can now add your camera inset to your UI and scale as needed.
Please sign in to leave a comment.
Comments
0 comments