Create Authoring: Creating a Nonlinear Workflow

Nonlinear workflows can be very useful for allowing your user to explore an environment without any handholding or strict guidelines. Users can take their time to explore the scene and interact with objects they're presented with. Today, let's take a look at the best practices for setting up such an environment in Create.
UI - The "Blank" template is perfect for an exploratory environment. This gives the bare minimum on screen to begin with. We just need to edit the visibility of the forward and back arrows, turning them off so the user can't interact with them.
Step Setup - Begin by creating your default layout in your default step. This should reflect what you want your user to see in the "Main Menu". Any objects that can be interacted with and any textboxes or other visuals the author wants to show should be included in this Default state.
Next, Create your "Main Menu" step that your user will begin on. Again, this should reflect the Default State.
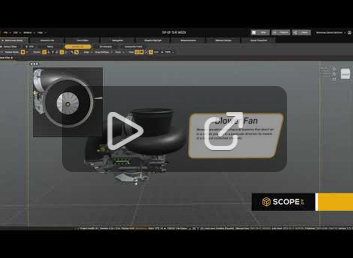
Creating each step is a bit different than a linear workflow. Normally the author will create a step and hit the "+" to create a continuing step based on the latest step. We will instead be right-clicking the "Main Menu" and clicking "Continue Step". This will give us an undoctor step that we can use to give full customization to the current object that would have been selected.
Visual Indications - It's important to give your user feedback for what step they're currently on. Normally this is done through the Content UI Headers. Since we aren't using any UI elements, this needs to be done through visual feedback within the 3D space it's self. Highlighted buttons and 3D Text allow a breadcrumb trail of sorts to indicate to the user where they are within the project, where they've been, and where they can go.
Please sign in to leave a comment.
Comments
0 comments