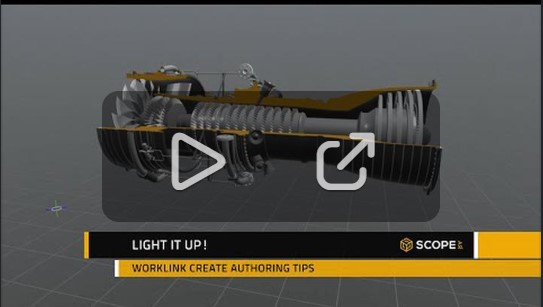
Create Authoring: Light it Up!
Watching behind-the-scenes content for any significant visual production, from films to stage plays, will reveal a whole team of people dedicated to the art of directing, coloring and amplifying the lighting for each scene. Good lighting can convey information, accentuate detail and even help to tell a story. The same is true for AR content: intentional and stylized lighting can drastically improve the aesthetics and visual communication of content in a WorkLink Project.
Before we detail how to alter the lighting in a WorkLink project, it important to note that, at the time of writing, WorkLink projects use universal lighting. This means the Directional Light objects in the scene control only the direction and brightness of light, but this direction and brightness is universal. In practice, this means changing the position of those lighting elements will have no effect on the lighting of the scene. Only changing their direction (rotating them) or their color and intensity (Object Properties) will have an effect.
Lighting in WorkLink is controlled by the Directional Light objects in the step hierarchy. You can interact with them like any other 3D element by selecting them from the Step Hierarchy or in the scene view, then using the gizmo or Object Properties to rotate them. They can be copied, pasted and duplicated as well. Their color and intensity can only be changed in the Object Properties window.
To get started, try duplicating one of the directional lights and rotating it so it points upward, then change it's intensity to 1 and it's color to an almost-white blue. This should create a cool "under lit" effect on your 3D assets.
More advanced lighting can also be paired with intentional material color/texture choice to create even better looking projects.
Play around with lighting a little and get those WorkLink projects shining!
Please sign in to leave a comment.

Comments
0 comments