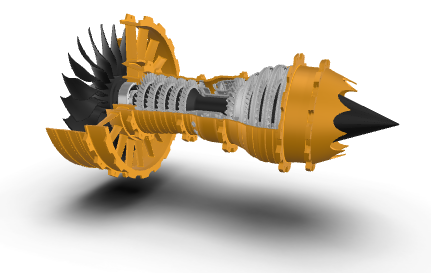
How to create a nice floor shadow using Blender and Photoshop.

Adding a baked floor shadow to your 3D models helps ground them in augmented reality, improving immersion, depth perception, and overall scene composition.
This guide takes about 10 minutes to complete and requires installation of Blender (free) and Photoshop.
It will walk you through baking an Ambient Occlusion (AO) shadow in Blender, preparing it in Photoshop, and importing it into WorkLink Create for use as a lightweight, realistic shadow plane.
1. Baking Ambient Occlusion in Blender
Scene Setup
-
Add Plane
-
Shift + A→ Mesh → Plane
-
Scale (
S) so it covers the base of your object, ensure it is large enough to catch shadow falloff/spread around the object. Type x, y or z if you want to scale in a specific direction only. -
Position it just beneath your 3D model
-
Material & Texture Setup
-
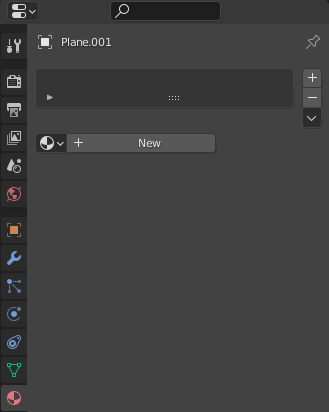
Assign Material
-
Properties Panel → Material Properties → New
-
-
Add Image Texture Node
-
Open Shader Editor
-
Shift + A→ Texture → Image Texture -
Click New → set name and resolution (e.g. 2048×2048)
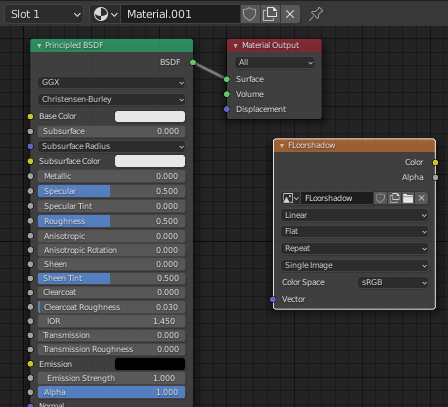
-
Keep this node selected (orange outline)
-
Bake Settings
-
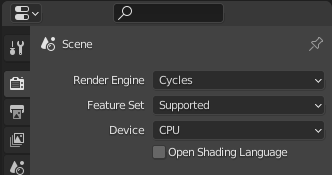
Switch to Cycles
-
Properties Panel → Render Properties (camera icon)
-
Render Engine = Cycles
-
-
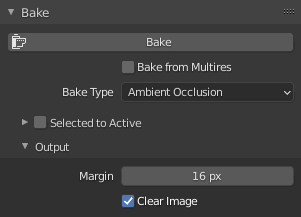
Set Bake Type
-
Scroll to Bake panel
-
Bake Type = Ambient Occlusion
-
Adjust Ray Distance for how far AO spreads from surfaces, only needed for unusual sizes (very small or very large).
-
Bake
-
Bake AO Texture
-
Select the plane
-
Click Bake in the Bake panel
-
Blender writes the AO shading into the active Image Texture
-
-
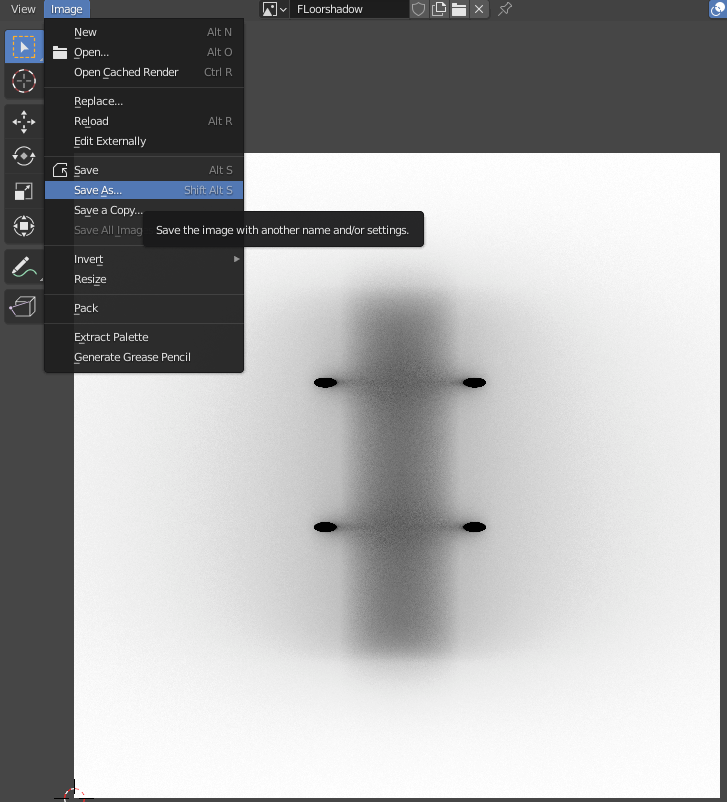
Save Image
-
Open UV/Image Editor
-
Image → Save As
-
Now you have a flat grayscale AO shadow map.
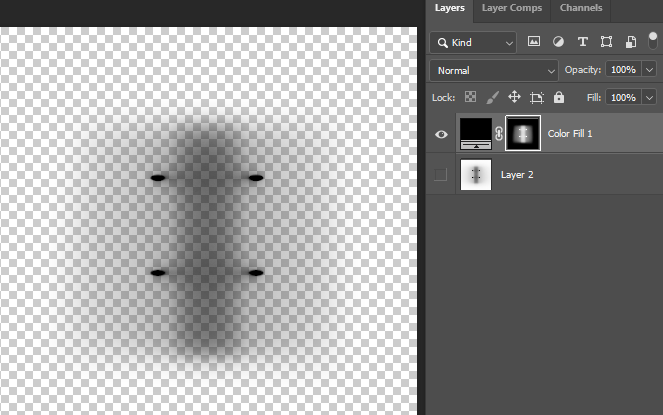
2. Cleaning the AO Map in Photoshop
Import & Prep
-
Open AO texture (
File → Open) -
Create a black fill layer (
Layer → New Fill Layer → Solid Color → Black) and place it underneath -
Add a Layer Mask to the AO layer (
Layer → Layer Mask → Reveal All)
Insert AO into Mask
-
Copy baked AO image (
Ctrl + A → Ctrl + C) -
Alt + Click mask thumbnail on AO layer
-
Paste (
Ctrl + V) → AO map becomes the opacity mask - Invert (Ctrl + I) → The shadow should appear white in the mask, the rest black.
-
Alt + Click the mask thumbnail again to return to normal view
Refine
-
Curves (
Image → Adjustments → Curves) → increase contrast so dark areas pop and edges fade -
Brush (soft black/white) to clean or extend fade zones in the mask, to make sure the edges of the image are completely transparent.
Export
-
File → Save As → PNG
-
Result = black AO shadow on transparent background
3. Import into Create
-
Add PNG to Asset Library
-
Drag or upload your finished PNG into the Asset Library
-
-
Drag into Scene
-
Dragging the PNG directly into the scene automatically creates a texture plane
-
-
Align with Blender Reference
-
Match the position and scale of the plane to the one you used in Blender
-
This ensures the AO shadow aligns with your 3D model in AR
-
-
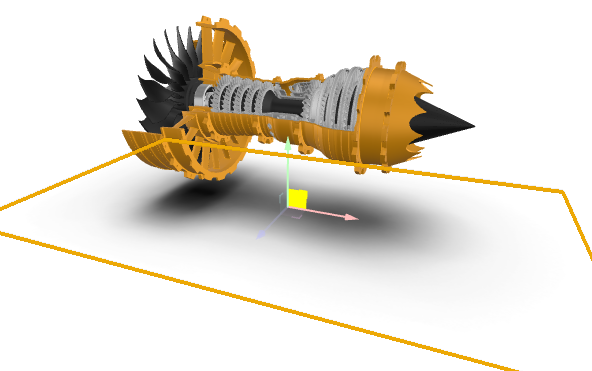
Preview in AR
-
Your model now has a soft contact shadow that grounds it realistically, without heavy lighting calculations
- Finetune if needed (mostly this is adjusting the contrast in Photoshop to adjust the intensity in your AR experience to taste, this process requires saving a new texture, importing and swapping it)
-
4. Workflow Summary
Blender: Bake Ambient Occlusion → Save image
Photoshop: Clean & convert → Export PNG with transparency
Create: Import PNG → Drag into scene → Align → Done
5. Tips
-
AO gives a subtle, always-on contact shadow that works in any lighting environment
-
Keep texture resolution moderate (1k–2k) for performance
-
Use Photoshop curves/brushes for quick refinements without needing to re-bake
Please sign in to leave a comment.
Comments
0 comments